Google+

Followers

Showing posts with label CAMPAIGN DETAILS. Show all posts

Sunday, 27 January 2013

PENARTH CRUSADE


I had a good day at Penarth & District Wargames Club's Annual event "CRUSADE 2013" which is more of a Mini-One-day Convention with Games, Vendors, Traders, Lectures and a bring & buy.
             I ended up demonstarting this Cold War ruleset, with some fellow club members helping out and having a look around. Unfortunately 15mm producers were thin on the ground so I picked up some stuff for my WWII collection. But it was a very good chance to push the boat out, and Chris brought his "almost" US Force. I have to say, the Camo he has put on the tanks looks great, and he attributed this Armoured Acorn's Camo schemes helping him out.  He still has some more painting to do, but helpfully brought his Vietnam era M113's from the FLAMES OF WAR Vietnam Range so he was able to bring 2000 points to the board.


We did put on a large Battle in slow time over 3-4 hours just to give a sense of scale make the Battlefield look nice. I have put some little notes just to give some context, but writing a full battle-report is a bit beyond my memory.

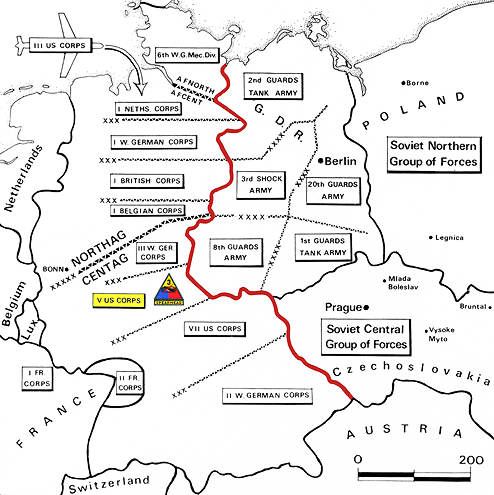
SOVIET MOTOR-RIFLE vs US ARMY  -  CENTRAL GERMANY 3RD FED 1986.


A Soviet Motor Rifle Regiment breaks out of the main breakout and races forward at Breakneck speed, hoping to maintain the headlong, ferocious advance into the Federal Republic of Germany. They successfully shoot down an AH-1 Cobra which has been following them for several miles, waiting to pounce on them.


The Vanguard of the US V Corps has dug in ahead of the Soviets and is seeking to deny ground, Isolate and then Destroy the Soviet forward elements.


The US Forces using their superior ATGM Missiles snipe an advancing T-72 Platoon with TOW Missiles, destroying one tank outright, and crippling a second causing the crew to abandon their vehicle.  Return fire, highlights the Bradley's weak armour and one goes up in Flames. The US Infantry dives into nearest buildings and begin setting up their M47 Dragon AT missiles.


The M1 Abrams Platoon move forward from concealed positions, as they witness the toll of the TOW Missiles on the T-72 Platoon. Just one other Tank Platoon remains their key threat, but they remain out of sight. The woefully under-gunned M1 with it's 105mm gun begin firing at BMPS in cover


AT-3 Missiles streak across the battlefield, as the low pressure guns of the BMP 1 seek to cripple the Abrams Battle Tanks and allow the second T-72 Platoon to out flank and destroy the Main Battletanks.


Another Platoon of BMP's crest the rise of a Hill, and get a perfect line of sight at a pair of Bradleys Scouting for a better position to deliver their TOW's. Three AT-3 Missiles streak out and the pair of IFV are immolated in detonations, their Aluminium armour no where near the level required to stop the Missiles.


The M113 Platoon move into cover and daren't show themselves from the marauding BMP's on the nearby rise.


The loss of the two Bradley Platoons has depleted the ATGM threat and the Soviet Units Race forward, intending to sweep through the US positions and surround them or push onwards.


All hell breaks out in the centre where a BMP is hit and burning and several Troops inside are burned to death, the final Tank of the 1st Platoon is blown to pieces by a Depleted Uranium round entering through the turret ring.


At this point the second T-72 Platoon flanks the Abrams and destroy one, with a flank shot. The US armour then performs an incredibly aggressive, manoeuvre, and charge head-long through the advancing Soviet Armour. They expose their side armour to over half the Soviet Vehicles. The stunned Soviets are utterly shocked by this maneouvre, and despite firing everything they have, fail to draw a bead on the US tanks. 


The BMP's race and jump on the objective, but the M1 Abrams are not done, with three out of 4 Tanks Operational and one sitting on the objective they start to mercilessly cut the Soviet force to pieces. The T-72 Platoon is utterly destroyed, by the M1 Abrams Platoon. The BMP's fire at point blank range, bailing one crew, but the blow out panels on the Abrams Protected Ammunition mean the crew get back in and fight on. With courage borne of desperation the US Tankers, smash the BMP Force trying to capture the T-junction.

The Soviet Commander decides to push his forces towards the town in the hope of forcing the US Forces to break off....


The BTR Platoon drives up the main road at suicidal pace, and avoids the M47 Dragon Fire, their 14.7mm HMG's cut through the rear armour of the M113's. Two vehicles are bailed, but the Infantry in the building, take revenge blowing the BTR70's to pieces. Subsequently the M47 Dragons finish off the BMP Platoon on the rise, and the Soviets are almost spent.

With only 4 BMP's left, and 1 and half Platoons of Infantry a Junior Commissar leads them in a fruitless charge at the M1 Abrams platoon, who furiously gun them down with a combination of MG and .50cal fire.

Catastrophic Soviet Loss, the Soviets did have some minor successes in destroying all the Bradley Platoons and shooting down a Cobra Helicopter, but the American's were still in a Combat effective state and the Soviets were utterly shattered.

The Colonel in Command of the Motor-rifle Company, calmly took his makarov out of it's holster, cocked it,  and the final thought that went through his brain prior to the bullet was "I hope the Party leaves my family alone".


Sunday, 20 January 2013

More Test game shots...

After altering some of the rules, dropping national rules (like Hen and Chicks for the Soviets) and balancing out the AT values with the Armour Values to make everything more balanced, particularly the side armour on NATO vehicles being too high.

So the Battle was a "Free-for-all" with the Soviets aiming to smash through, the objectives are Orange Dice and grey dice are the objectives.(we will get some decent objective markers).   

The Battle

A Soviet Motor Rifle Platoon captures an Objective and leaps out of their BMP's and prepare to dig in. 

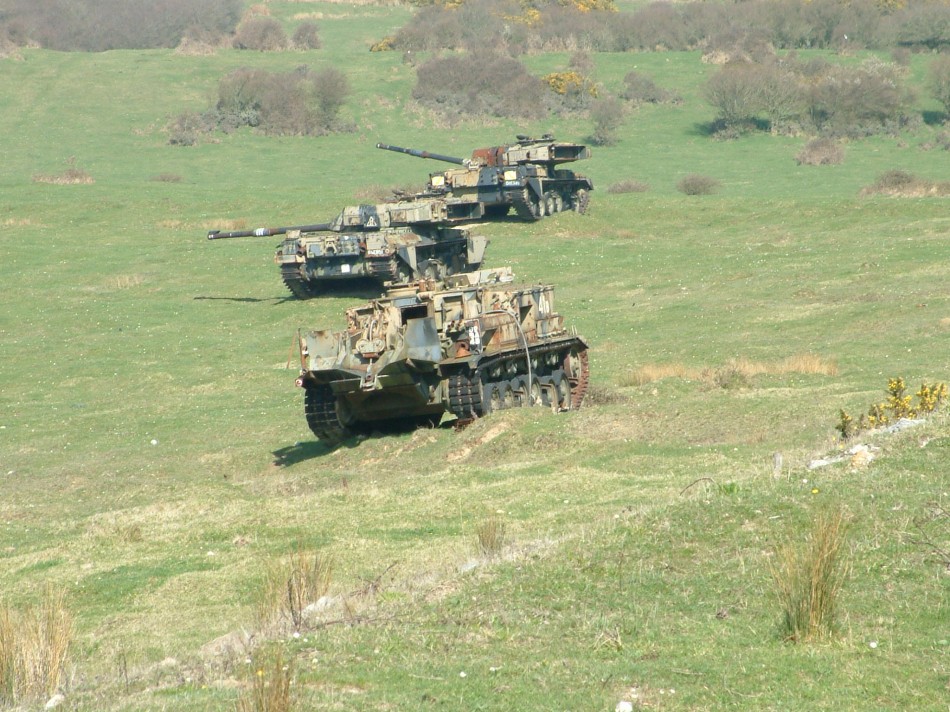
The main Soviet Vanguard of a Platoon of T-72's and a BMP Platoon move swiftly forward and come under murderous fire from concealed Chieftains who destroy the T-72 Platoon outright.


The BMP's take cover behind their burning tanks as the rest of the Company sweeps in, on the left Flank now the Chieftains have revealed themselves, and are in a precarious position without support.


 The BMP's go hull down to distract the Chieftains as the other T-72 platoon races foward from the left flank and the Two BMP Platoons also perform a left hook.


Mean while the British Mechanised Company turns up, with the MILAN Platoon setting up in the Woods, and getting some good firing positions on the Rear of the T-72 Platoon.


But unfortunately in their haste to bring their weapons to bear, they manage to miss with all their shots. 

 The T-72 Platoon Races to the top of the Hill and starts to take the Chieftains under fire in their lesser side armour, the whole of the ground in front of the hill becomes a butchers shop as the Soviets race in to capture the objectives and destroy the Chieftains.


The Two platoons of Infantry jump from their transports and race towards the Cheiftains in order to force them off the objective. The BMP's watch their SPIRAL missiles and Cannon shots bounce off the superior Chieftain Armour time and again, and decide to close to point blank range to surround the British Tanks and cut off their escape and allow the infantry to capture them.


The Soviets moved up their Final BMP Platoon to screen the hill and protect the Read of the T-72's, unfortunately the MILAN Platoon is ready and the Platoon is utterly shattered by the MILAN's firing from the Wood in to their side armour. 


The British now feel the battle swinging their way and know that they need to Counter-attack to survive, or they will be destroyed. The Mechanised Platoon leaps out of their Transports (now the threat of the BMP's is gone) and race up the hill with MAW's at the ready and  bail or destroy the tanks, their consolidation move captures the T-72s and the hill is now in British Hands. 


The FV432's engage with their GPMG to pin or kill the Soviets, the 4 Chieftains move forward to engage. Lot's of Soviets die, but they hold on, successfully bailing a Chieftain and then capturing it, the British fail their morale and break off. The Soviets hold the Objective so hold 2 to the British 1. The Soviets manage a desperate last minute win, with only 3 BMP's left and 7 stands of infantry, the British had lost only one Tank.

DESPERATE LAST DITCH SOVIET VICTORY!


This game was more luck than judgements and to be fair to my opponent he played extremely well, constantly moving his tanks to keep the front armour facing the enemy, equally I was unlucky failing quite a few firepower tests on his Chieftains where their Protected Ammo really helps them out. 

Good fun, and the Rules seem to be more balanced now, and the NATO tanks need a slight side armour 'nerf or the things like RPG's at close range simply cannot bail them (I should have spotted this!). 


Thursday, 29 November 2012

A big Thank you 


I would like to say thank you to everyone who has been supporting this blog and also nominating me for a Liebster Award, it is very humbling to have others within the community applaud my efforts.

An Apology

I also have to apologise to all the Cold War Fans, as I have slipped slightly back to WWII to complete some terrain projects for our Flames of War Fraternity, of which I am a member (and no FOW is not a swear word, it's a Wargame in a Historical Setting, not a Historical Wargame, so if you don't like it, well that's your choice). Anyway, I have always had a soft spot for Arnhem as my Grandfather took part in the operation (By which I mean he crashed in a Glider and was captured within hours of landing - occupational hazard when you are landing 60miles in the middle of enemy territory!). So I am working on an Oosterbeek and Arnhem boards including the Legendary Bridge.


I have also been overhauling our terrain, and so the Blog has slipped a bit. I thought I would post this for interest and to prove I'm not being Lazy...


GAMMON BOMBS TO THE FORE!


I might use these as Proxies for more modern buildings in the Cold War Campaign.  

COLD WAR CAMPAIGN NEWS


The intention is now to begin the Cold War Campaign on the 2nd February 2013 (One day out and 27 years from the Fluff start....details).

There is currently some people at my club debating that we use Flames of War Modified ruleset, I have ruled this out as it doesn't model modern weapons very well. So we are sticking with Force on Force, inspite of it being more infantry centric, I do think once you get to grips with it, it's a very good ruleset. If however it doesn't work as well  as intended, I may *repeat may* consider in 12 months or so using my lists with a modified FOW (tropic Lightning Rules) which would require me to write ranges and FP values for hundreds of Weapons (a considerable volume of work from a balance perspective!).  But for now we will use force on force rules. 


Tuesday, 6 November 2012


NUMBERS OF PLAYERS ARE EXPANDING

A quick update and revision of the various Commanders and forces involved in this Cold War Campaign.

NATO FORCES


Colonel Bob James - 2nd Battalion Royal Welch (Mechanised)
Oberst Pieter Fischer - 171 Pz GREN Abteilung
Major Mike Edwards - OiC A Squadron 2nd RTR - 7th Armoured Brigade
Colonel Chris Tempest - CO 11th ACR
Major Johanson - CO Combat Aviation Brigade (7th Bat - 17th Cavalry)(AH-64, OH-58)  
Major Chris Miller REME - OiC Maintenance Depot 1st Armoured Division
Colonel C "Rusty" Lynn - Chief of Staff 1st Canadian Mechanised Brigade Group.
NATO Special Operations Forces - Commander *Classified*

WARPAC FORCES

General Baldovich - 8th Guards Division
Colonel Kristianski - Commander 12th Guards Tank Regiment
Colonel Aledski - 345 Independant Guards Airborne Regiment 
Major Mishka Eduardovich - OiC A Company 201 Motor-Rifle Regiment
Colonel Arkady Makarov - VDV Air-Assault Brigade
Spetznaz  Corps - Unknown Commander


The Canadian Mechanised Brigade


This is beginning to expand under Colonel Rusty's plans here is a quick picture of his 15mm Planned force which he has in-being or on it's way and he is currently painting.  It is a very large force allowing him to chop and change his Battlegroup to Mission Specific Groupings.


The Panzer Grenadier Battalion


This is beginning to expand under Oberst Fischers plans here is a quick picture of his 15mm Planned force which he has in-being or on it's way and he is currently painting and modelling


The British Force 

One Battlegroup is done by me, and another is on the way with the Major Millers Support Section also being kitted out. 


Sunday, 14 October 2012

Force on Force Token...

I'm not overly impressed with the Force on Force Tokens available from certain suppliers. They look awful and lack a certain logic to them. My intention is to produce my own, and if any others want to copy these and use them I have no problem with this.

A quick link to the Ambush Alley Forum where I uploaded the templates of the Tokens.

http://ambushalleygames.com/forum/viewtopic.php?f=34&t=10572


I will print these on Sticker paper, punch them out with a 21mm paper punch and then stick them onto 22mm White Tally discs. The whole thing costs £10, and I have 20 sheets of Sticker paper and 200 tally's, should be enough!

So here are the designs for the Counters:- 


So all told I will double up the sides of the tokens in some cases, so that one side is 1 KIA and the otherside is 2 KIA etc. 

Equally for the Campaign Map I will be used some of the counters for Artillery, and Units.

Here is an Example of the WARPAC Counters, these will obviously be used on the Campaign Map.

Again I will use the method above, to create the Unit Tokens. 


Saturday, 6 October 2012

OBJECTIVES IN THE CAMPAIGN

Quite simply the WARPAC FORCES are trying to bludgeon their way to the Rhine with sheer overwhelming numbers. Their Objectives are relatively straight forward, push forward as fast and as hard as possible. 3SA is aiming to Neutralise HAMBURG and head into Holland and Belgium. 8GA is pushing directly for FRANKFURT and then spreading to the Franco-German Border and the capture of all land between East Germany and the Rhine. 


NATO is simply trying to stop them, or to survive as a cohesive fighting force. 

As this is an unusual scenario normal victory Conditions do not apply:- the following will be used throughout the campaign :- 

1. The WARPAC Player is trying to get one Complete 100% intact Land Platoon (air units or Air transported Infantry do not count) off the opposite board edge. This will be an automatic Victory for the WARPAC Player.
2. The WARPAC Player will gain 2 Victory Points for every NATO unit destroyed, 1 Victory Point for a unit at or below 50% Strength.
3. The NATO Player will gain 1 Victory Point for every WARPAC unit destroyed, 1/2 for a unit at or below 50% Strength.
4. If the entire WARPAC Force is Destroyed / Fleeing it is an Automatic Win to the NATO player.

At the start of the game the Russian Player rolls a D6, on a roll of 6 the Soviets will fight across the longest edge and try to cross to the opposite longest edge,  e.g the shortest distance of 4'.  Otherwise the game is fought down the long Axis e.g from Shortest edge to Shortest edge e.g the longest distance of 6'.

This means in most encounters NATO players will be able to create defence in depth. However occassionally the WARPAC forces find a weakspot and will push across a shorter distance. This is supposed to model their probing for the weakest positions.

TURNS IN THE CAMPAIGN

Apart from the Normal battles on 6' x 4' Tables to decide outcomes, I have decided that each Turn (Day) in the campaign should have either a Major or a Critical Action. The decision will be left with the elected Supreme NATO general who will decided what action will be undertaken and what units will moved in response to the Soviet Advance.

If the NATO Forces loses all territory in the FRG, then NATO will unleash their Tactical Nuclear Arsenal to protect the rest of Europe.

MAJOR ACTION


A Major action will be a Co-operative game such as 2 NATO Players vs 2 WARPAC Players where the WARPAC Players will have the advantage of an extra 1000 points e.g 3000 pts NATO vs 4000 pts WARPAC. 

This is to represent a major attack, or an attack at critical juncture between say two units or sectors as the WARPAC forces seek the weakpoints and bring the "Schwere Punkt" to the fore. It will be fought on a 6' x 4' board under the normal victory conditions above.

CRITICAL ACTION


Will be a special forces scenario, where a NATO Commander not directly involved will temporarily take command of a Special forces unit and attempt a Critical action that could have long lasting implications. 

These actions could be, but not limited to, HQ destruction, CSAR for downed pilots (especially AH-64 and A10 Crews!), destruction of Soviet Strategic Rocket Forces, destruction of Chemical / Biological Weapon Dumps or Intel gathering operations that get bounced. These actions will be fought well behind the frontline by stay behind parties and inserted special forces.

This will be fought on a 6' x 4' board using a highly specialised victory condition and limited number of assets on both sides.

Interesting Campaign information


A big Thank you to Rusty over at "Hurry up and Wait" who has joined our Campaign as the Doughty of the 4th Canadian Mechanised Brigade Group (CMBG). Colonel "Rusty" Chief of Staff of the CMBG who through Battle Damage and losses ends up Commanding the entire brigade. Story to follow. 


I now have a significant number of NATO players (7) with only two WARPAC Players. I have purchased a further 2 WARPAC forces, buying a huge amount of Second hand 15mm WARPAC figures, from this I will hopefully rope in a few more players who will play as POLISH, CZECH, EAST GERMAN or HUNGARIAN.


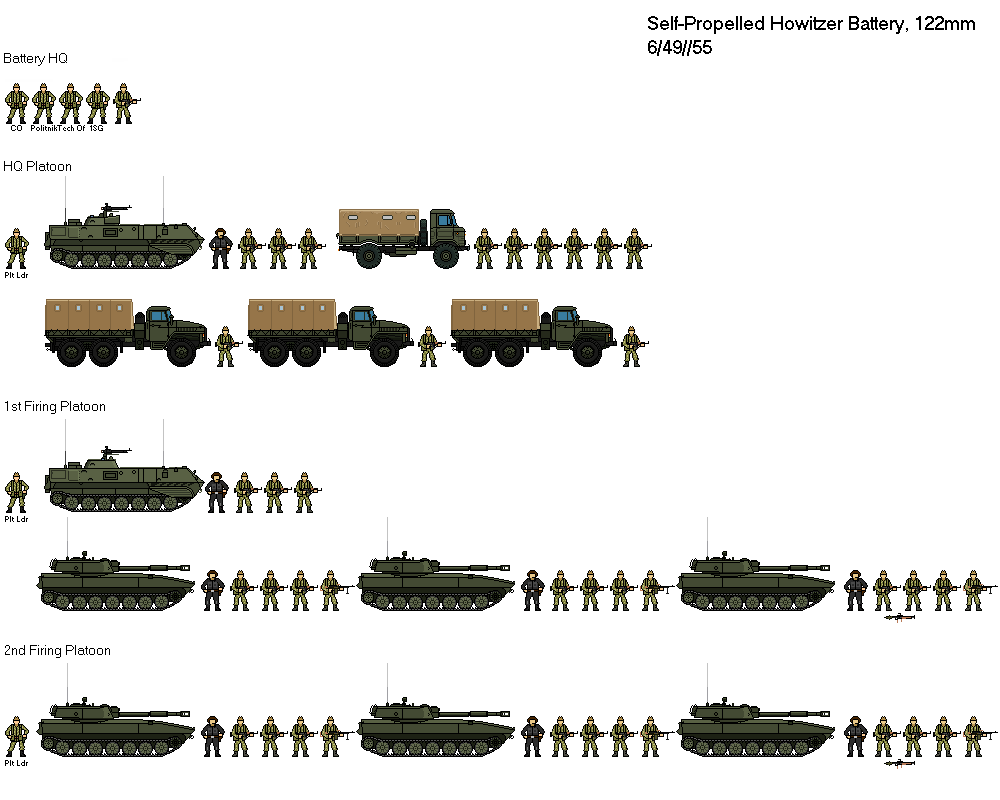
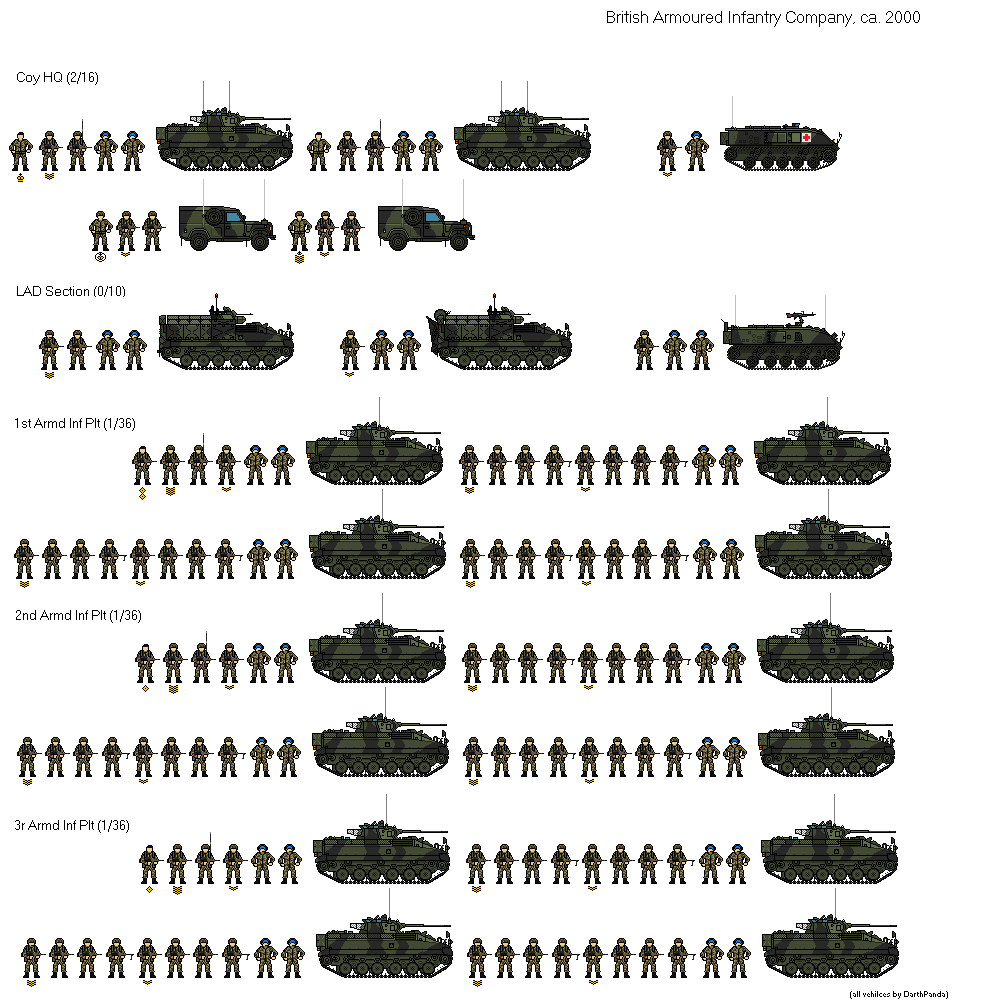
Finally came across this, http://www.shipbucket.com/forums/viewtopic.php?f=20&t=1480 which represents all of the Organisation in a Motor Rifle Battalion. It has a nice "Habbo" style to it, and is actually quite a good Reference.

Eventually I would like to Collect a full Soviet Motor Rifle Battalion in 15mm, as I can then Parcel off sections to other Players and provide 3-4 Players with Forces from my Pool of Vehicles and The key things I need is the 122mm Artillery, but also the BTR 70's and a Bucket load of BMP's! 


He even does other Formations.... Just have a hunt around in the Directory above.